It was released in 1983. Leslie Lamport developed the typesetting software. The name of Latex has come from the adding the first two letters of sir name of Leslie Lamport i.e La and Tex i.e Latex. The code repository you can find at Github at the URL https://github.com/latex3/latex2e. And the official website for Latex project is https://www.latex-project.org/.
Watch The Same Video on YouTube
FlashBack of TexStudio
TexStudio editor was developed by Jan Sundermeyer, Daniel Braun, and Tim Hoffmann and released in 2009 under GPL license. The code repository you can find at URL https://github.com/texstudio-org/texstudio . And official website for the project is www.texstudio.org.
As you can see in the screenshot. Moreover, TexStudio is popular and easy to managing editor. Furthermore, there are wizards in the editor that will generate codes automatically.
In the wizard menu.
Quick Start
Quick Letters
Quick Tabular
Quick Tabbing
Quick Array
If you click on Quick start the code you see in the editor.
On the left side of the Wizard menu, two menus Latex and Math are very important.
I will add code and show output. You have to do some research to explore TextStudio.
TextStudio Wizard
Let us start, how to work on TexStudio
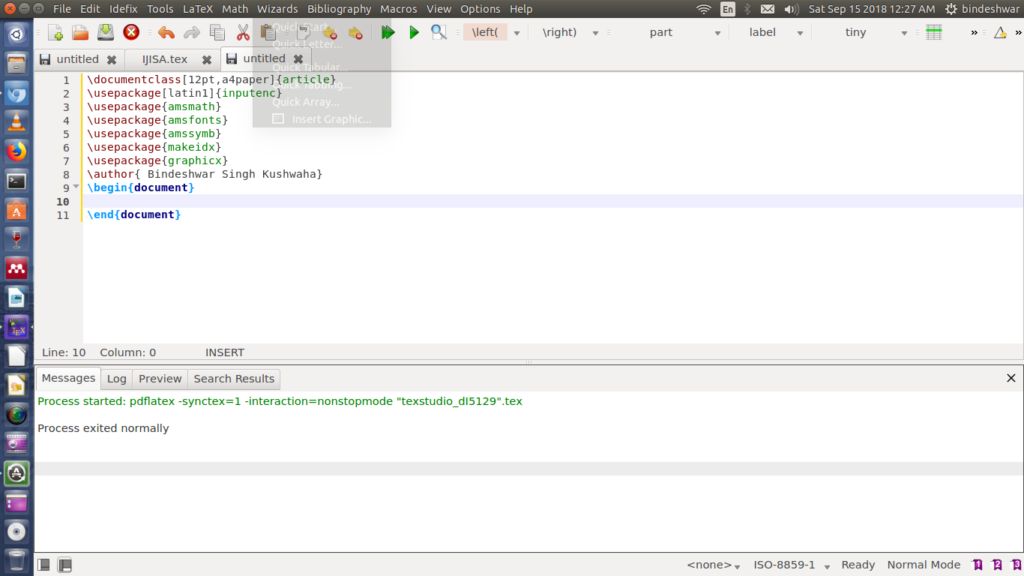
First of all, see the code snippet
1- \documentclass[12pt,a4paper]{article}
2-\usepackage{graphicx}
3-\usepackage{amssymb}
4-\usepackage{makeidx}
5- usepackage{amsmath}
6-\author{ Bindeshwar Singh Kushwaha}
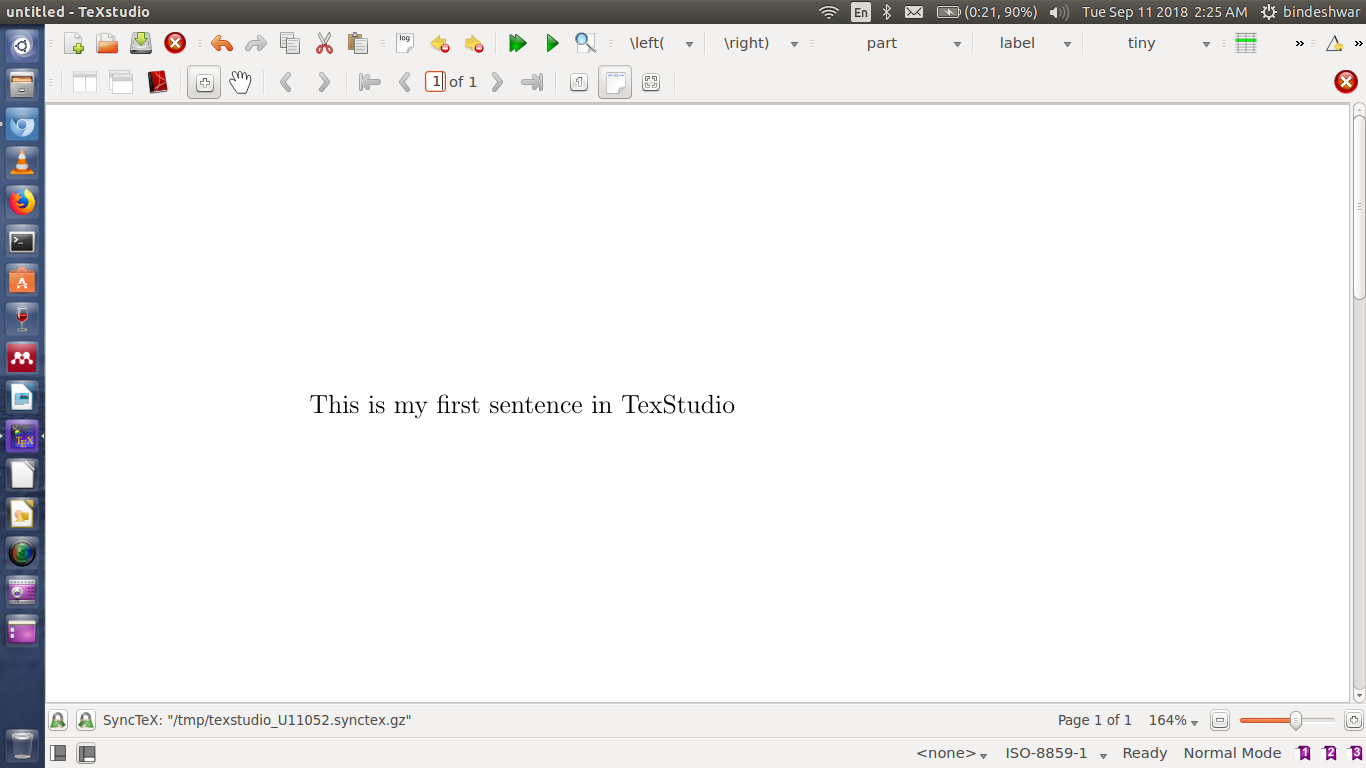
7-\begin{document} This is my first sentence in TexStudio
8-\end{document}
Code Snippet-1
Dont use number in program this is for explaination.
The output screenshot you can see.
Latex Screenshot
Now I am going to describe Code Snippet-1 line by line.
1- documentclass[12pt, a4paper]{article}- This line declares a document that has 12 points words size, will produce A4 size paper article.
[2-5]-usepackage{packagename}- These line includes packages. For instance, graphicx package Latex use for adding images.
6-This line’s command is for author(s) details. Such as name, institutional affiliation and email id. Between 7-8–Between yourr whole document will be placed.
This was the basic introduction of Latex. That how to write a sentence in Latex.
Now I am going to explain some useful commands. For instance, how to include an image, a table, and references. Which are useful for research papers, books and in thesis writing.
Include a table in the document.
A table is a very important component of an article. Here, I am going to include a table in the document.
\documentclass[12pt,a4paper]{article}
\usepackage[latin1]{inputenc}
\usepackage{amsmath}
\usepackage{amsfonts}
\usepackage{amssymb}
\usepackage{makeidx}
\usepackage{graphicx}
\author{ Bindeshwar Singh Kushwaha}
\begin{document}
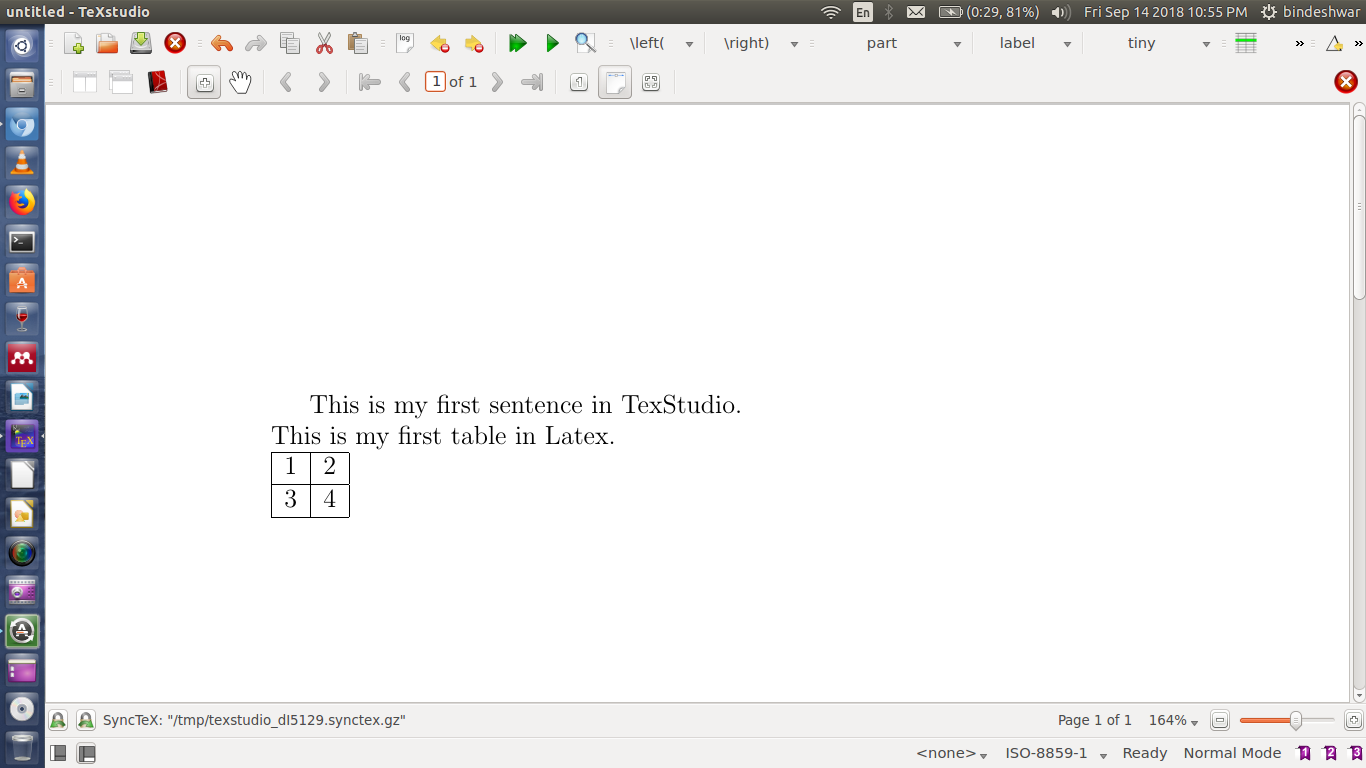
This is my first sentence in TexStudio.
This is my first table in Latex.
\begin{tabular}{|c|c|}
\hline 1 & 2\\ .
\hline 3 & 4 \\
\hline
\end{tabular} Table ends here.
\end{document}
Code Snippet-2
begin{tabular}{|c|c|} means table starts here with two columns text is center aligned separated by vertical lines. \hline means horizontal line and & separates each shell. \\ is used for new line in Latex. The output of Code Snippet-2 will be.
Table in Latex
Include an image in the Latex document.
\includegraphics command you can use to include an image the syntax for this command is \includegraphics[width= x cm, height= y cm]{path-of-the-image}. Furthermore, it is the best practice to put the image in the same directory. And put the image in the table.
\documentclass[12pt,a4paper]{article}
\usepackage[latin1]{inputenc}
\usepackage{amsmath}
\usepackage{amsfonts}
\usepackage{amssymb}
\usepackage{makeidx}
\usepackage{graphicx}
\author{ Bindeshwar Singh Kushwaha}
\begin{document}
This is my first sentence in TexStudio.
This is my first table in Latex.
\begin{tabular}{|c|c|}
\hline 1  & 2\\
\hline 3  & 4\\
\hline
\end{tabular}
\begin{tabular}{c}
 \includegraphics{/home/bindeshwar/Desktop/postnetworklogo.png}
\end{tabular}
\end{document}
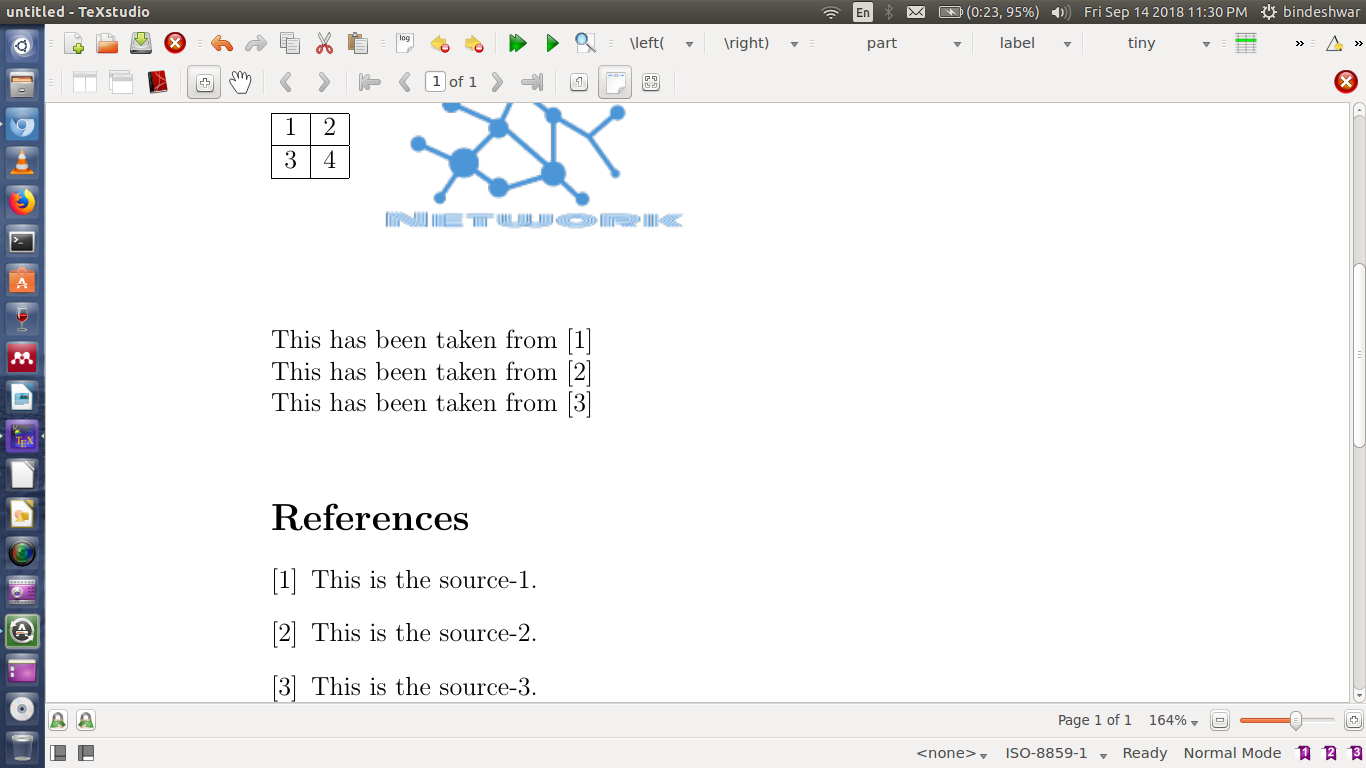
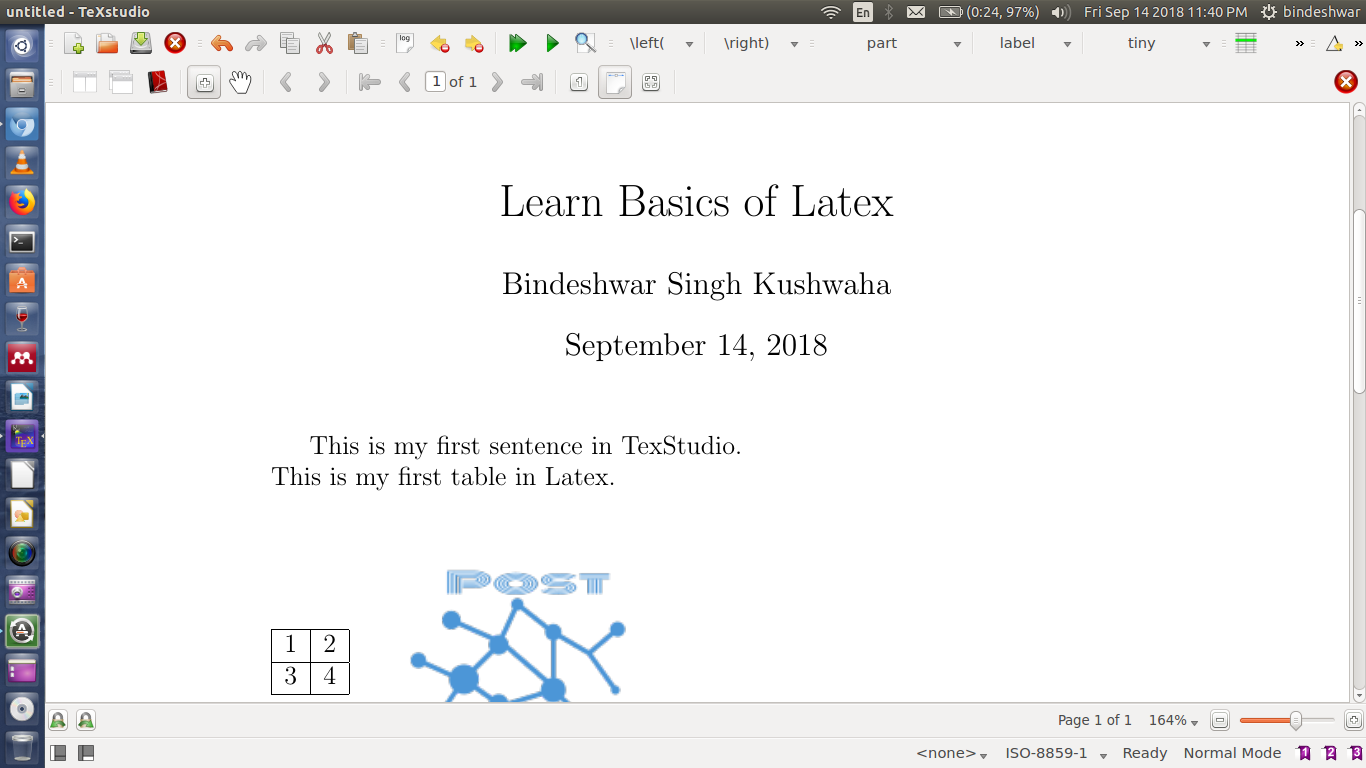
The output of the code will be.
Image in Latex
Include a reference in the document.
First, you need to collect your references and label them with a key inside the commands. begin{thebibliography} {9} end{thebibliography} For example, begin{thebibliography} {9} bibitem{key1} This is the source-1. end{thebibliography} The to cite in your paper use cite command for example cite {key1} Then Latex will number it automatically according to reference list position of the source. You can understand by program example and output of the program.
\documentclass[12pt,a4paper]{article}
\usepackage[latin1]{inputenc}
\usepackage{amsmath}
\usepackage{amsfonts}
\usepackage{amssymb}
\usepackage{makeidx}
\usepackage{graphicx}
\author{ Bindeshwar Singh Kushwaha}
\begin{document}
This is my first sentence in TexStudio. This is my first table in Latex.
You have done all things but have not given a title to your document. Put title command above command begin{document}. And \maketitle just below begin{document}. For example, title{Learn Basics of Latex} \begin{document} \maketitle Your program will look like.
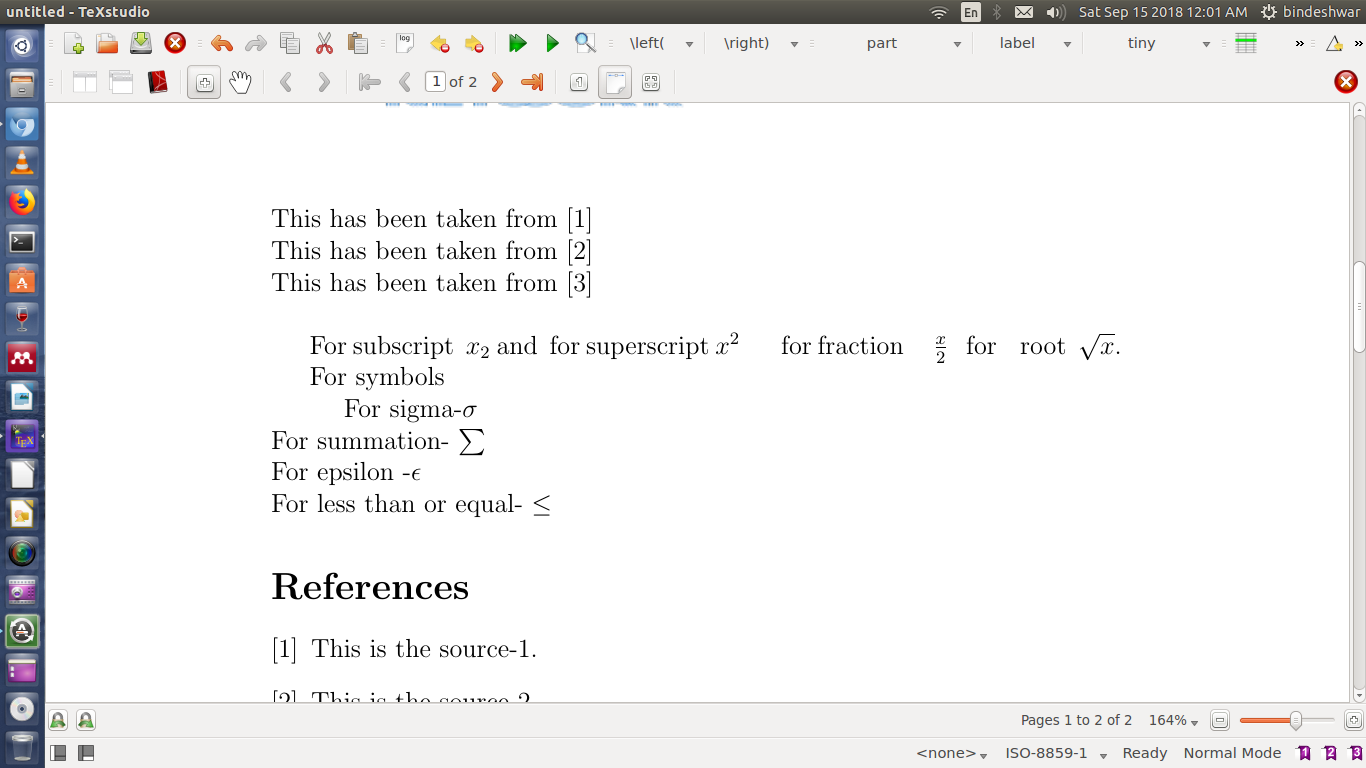
In line mode, you have to put expressions within $ Expressin$ For example For subscript $x_{2}$ and for superscript $x^2$ for fraction $frac{x}{2}$ for root $sqrt{x}$. For symbols For sigma-$ sigma$ For summation- $sum$ For epsilon -$ epsilon $ For less than or equal- $leq$ Add it in your latex code and see the result.
For subscript $x_{2}$ and for superscript $x^2$ for fraction $frac{x}{2}$ for root $sqrt{x}$.
For symbols For
sigma-$ sigma$
For summation- $sum$
For epsilon -$ epsilon $
For less than or equal- $leq$ \
\newpage
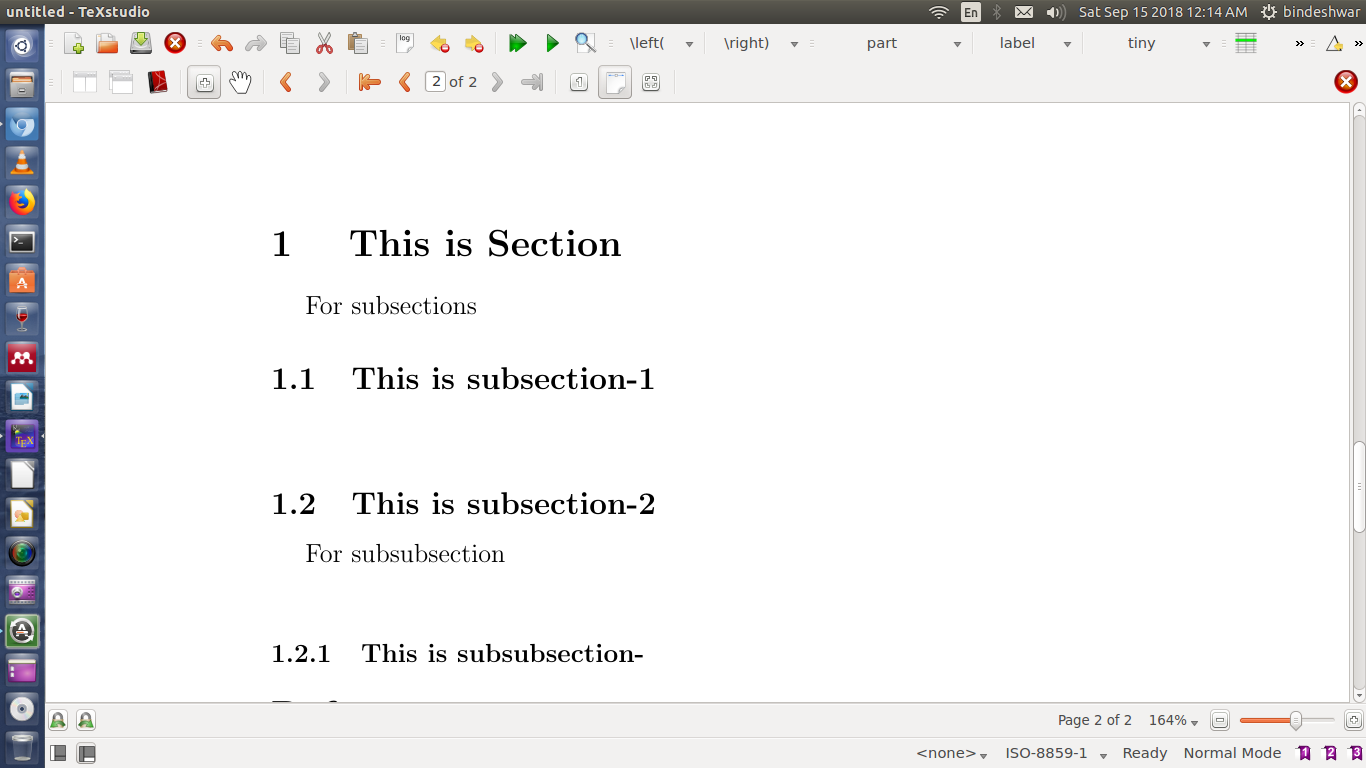
\section{ This is Section}
For subsections\\
\subsection{This is subsection-1}
\subsection{This is subsection-2}
For subsubsection\\
\subsubsection{This is subsubsection-}
\begin{thebibliography} {9}
\bibitem{key1} This is the source-1.
\bibitem{key2} This is the source-2.
\bibitem{key3} This is the source-3.
\end{thebibliography}
\end{document}
Output will be
Sections in Latex
This quiz no longer exists
Conclusion
To sum up, I have demonstrated that how to work in TextStudio. Hope it will help you. Moreover, you will be able to prepare research papers, books and theses.